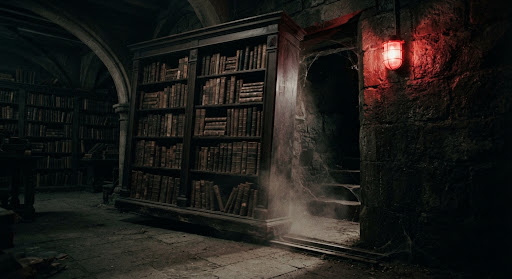
Sun Quartz Puzzle Box Solution
Need the Sun Quartz in Resident Evil Requiem? Find the puzzle box location, the Corrosive item, the Star → Sun → Moon → Sun code, and what to do next.
- Location
- Lead Researcher's Office, East Wing 2F
- You need
- Access East Wing 2FCorrosive from the Conference Room
- Reward
- Sun Quartz + Leatherbound Notebook
Lead Researcher's Office, East Wing 2F
Medium
Sun Quartz + Leatherbound Notebook
- Access East Wing 2F
- Corrosive from the Conference Room
Get the Corrosive
Pick up the corrosive from the cabinet in the Conference Room on East Wing 2F.
Travel to the Lead Researcher's Office
Use the corrosive on the Sun Quartz Box's padlock to melt it.
Find the symbol clues
Check the photos and documents on the wall for the correct sequence.
Enter the code and collect rewards
Input Star → Sun → Moon → Sun to receive the Sun Quartz and the Leatherbound Notebook.
Where to Find the Sun Quartz Puzzle Box
The puzzle box is in the Lead Researcher’s Office, East Wing 2F. The office door is locked with a padlock that must be melted using the Corrosive item.
What You Need Before Starting
The Corrosive is in a cabinet in the Conference Room, also on the East Wing 2F. The room is accessible once you have the East Wing 2F access from story progression. Pick up the Corrosive before heading to the Lead Researcher’s Office.
Important: the Corrosive is a single-use item. Use it only on the Sun Quartz Box padlock.
Exact Solution
Use the Corrosive on the padlock to open the office. Inside, examine the photos and documents on the wall to find the symbol sequence. The correct input is:
- Star
- Sun
- Moon
- Sun
After entering the sequence, the box opens and gives you the Sun Quartz and the Leatherbound Notebook.
Why This Code Works
The wall photos and documents in the Lead Researcher’s Office show the research timeline in symbol form. The sequence mirrors the order the symbols appear across the clue photos — that is the in-game logic the puzzle checks, so you can verify it yourself instead of trusting a guide.
What You Get
- Sun Quartz: the second of the three Quartz pieces needed for the Central Hall mechanism.
- Leatherbound Notebook: contains research lore and a document that helps you open the Organ Transport Box later.
What To Do Next
After collecting the Sun Quartz, your next target is the Star Quartz: get the Level 2 ID Wristband from the corpse in the East Wing Examination Room to open the Isolation Ward, then take the Level 3 ID Wristband from the Security Manager’s body in his office — Level 3 opens Emily’s cell, and only Emily can read the Braille code on the Star Quartz Box. Once all three Quartz pieces are collected, see the Central Hall Quartz Mechanism to open the path to the Courtyard.
Common Mistakes
- Using the Corrosive on a door other than the Sun Quartz Box padlock — it is single-use.
- Missing the Leatherbound Notebook on the desk next to the box.
- Forgetting the symbol sequence after reading the wall photos — the code is also listed in the Quick Answer at the top of this page.
Frequently Asked Questions
Where is the Sun Quartz Puzzle Box in Resident Evil Requiem?
It is in the Lead Researcher's Office on the second floor of the East Wing.
What is the Sun Quartz code?
The sequence is Star → Sun → Moon → Sun. The clues are on photos and documents near the box.
Where is the Corrosive in Chapter 3?
The Corrosive is in a cabinet in the Conference Room on East Wing 2F, near the Sun Quartz Box location.
What is the Sun Quartz used for?
The Sun Quartz is one of three pieces required to open the Central Hall mechanism and reach the Courtyard.
Related Puzzles
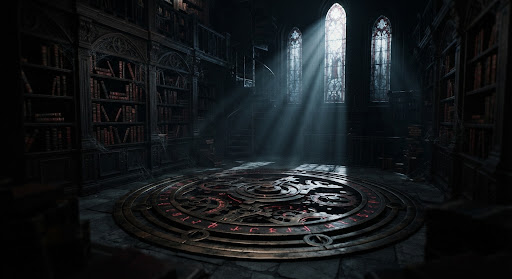
Central Hall Quartz Mechanism Solution
Complete Resident Evil Requiem Central Hall Quartz Mechanism solution: where to find it, how to insert the Moon, Sun, and Star Quartz pieces, and what it unlocks.
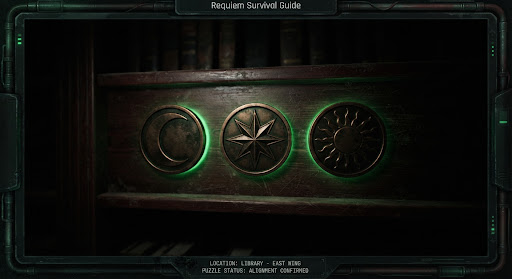
Moon Quartz Puzzle Box Solution
Complete Resident Evil Requiem Moon Quartz Puzzle Box solution: Chairman's Office location, Pencil item, symbol sequence Moon → Sun → Star → Moon, and reward.
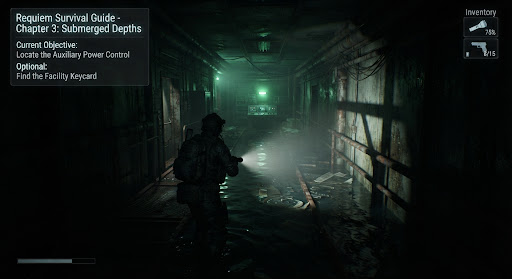
Star Quartz Puzzle Box Solution
Resident Evil Requiem Star Quartz solution: Security Manager's Office location, Level 2 Wristband to enter the Isolation Ward, Level 3 from the Security Manager's body to free Emily, why Emily must read the Braille, and the Star → Star → Moon → Sun code.